In a previous blogpost, I said that compression was one of the most ubiquitous music production tools. And while this is true, there is a clear winner in this particular popularity contest. And the winner is: Equalization, normally referred to as EQ. You’ll find EQ everywhere in music production.
Some DAWs, like Logic Pro, have EQ built into every channel, whether you want it or not, ready to grab at a moment's notice. The truth is you normally will want to use it.
Seasoned producers will often have several go-to EQs; I for one love to grab Ableton Live’s EQ Three for crude tone shaping, and EQ Eight for fine tuning. But if I want some character, I’ll go for a Pultec, API or SSL emulation to give my tracks more bite.
What does EQ actually do?
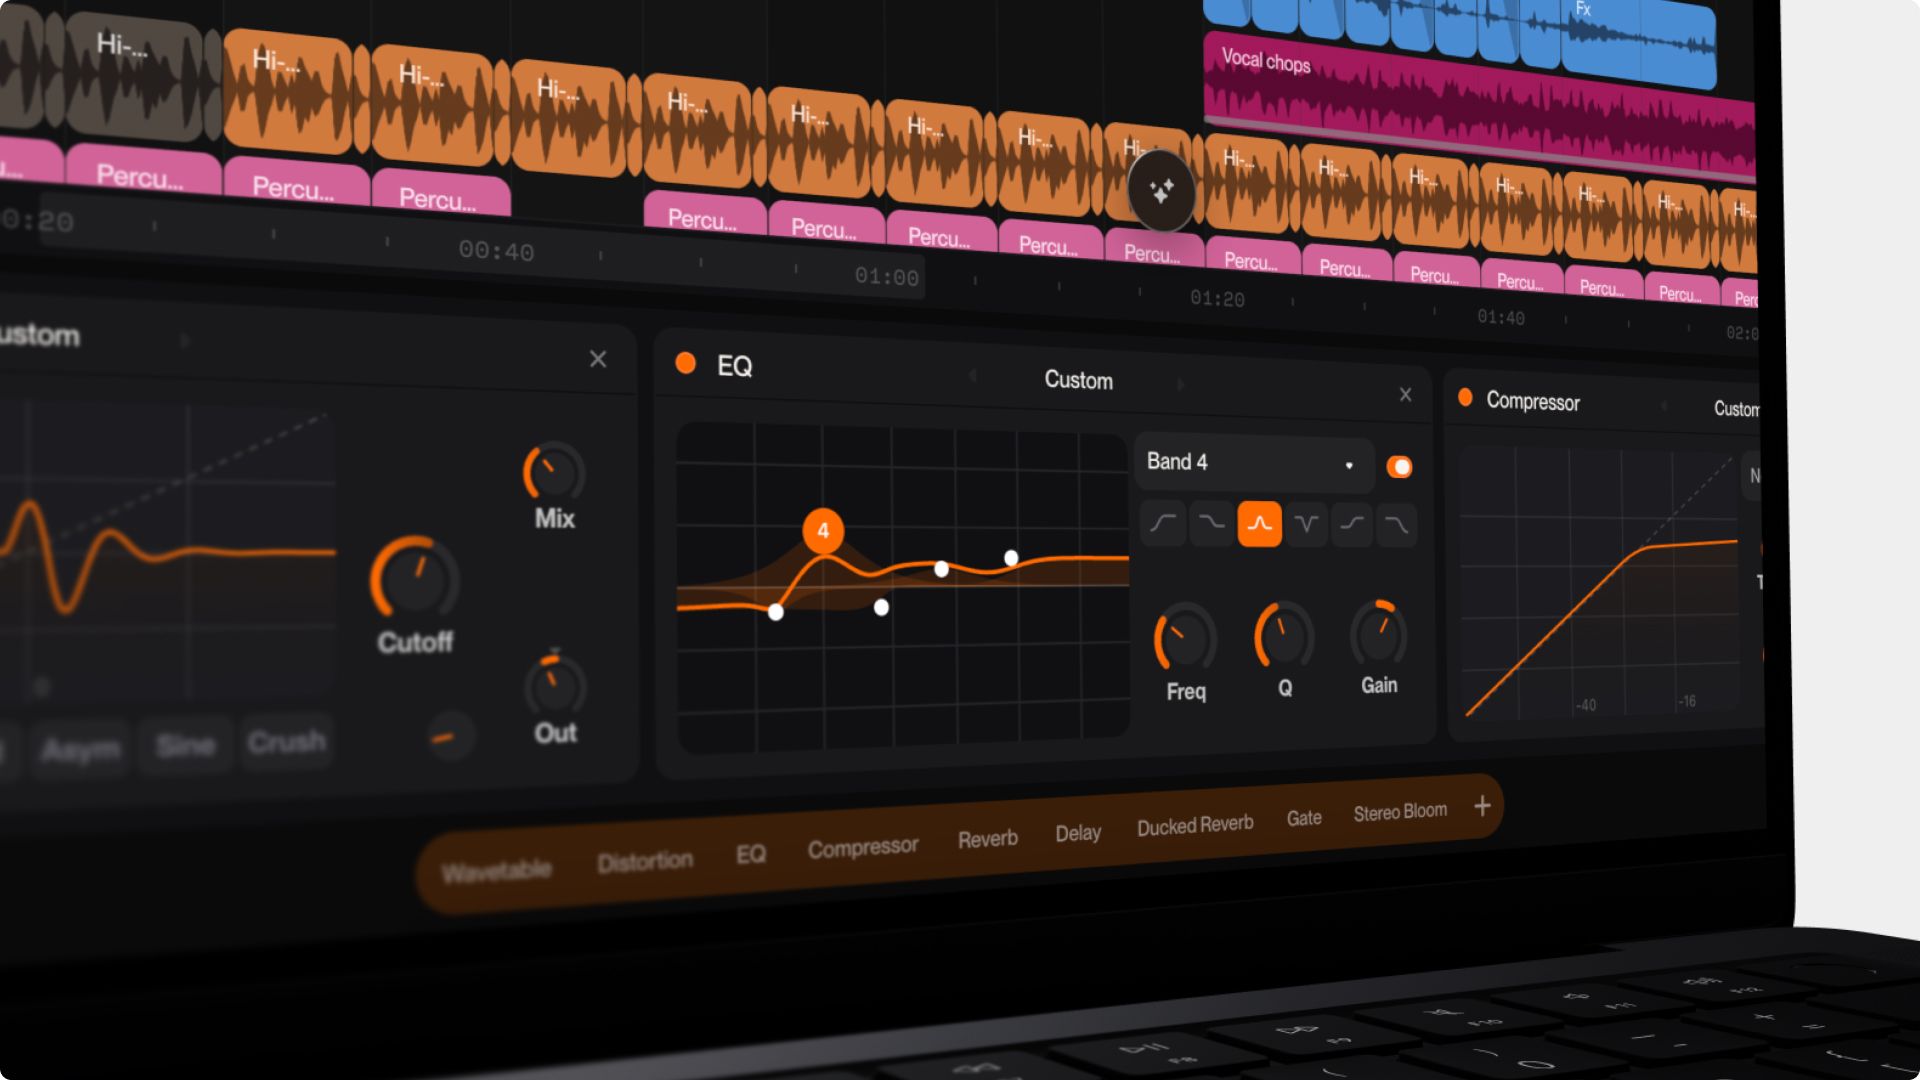
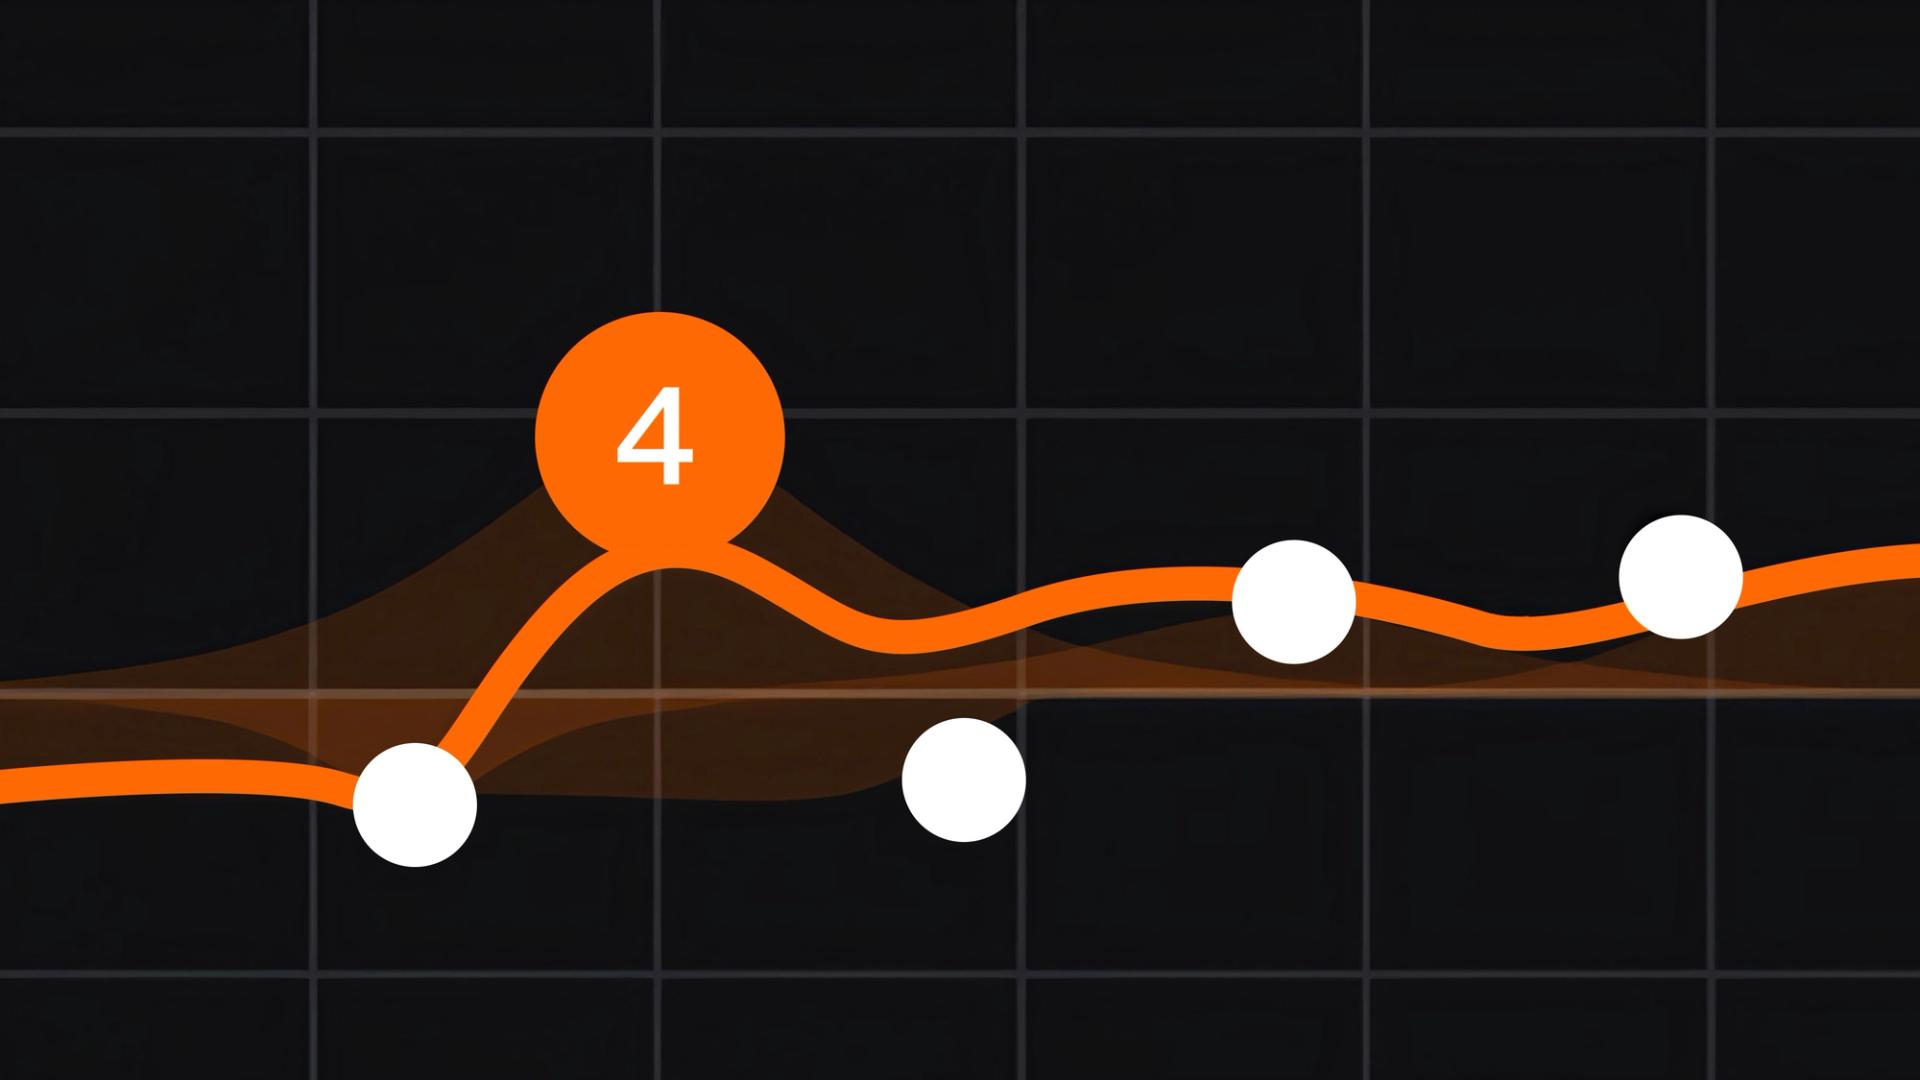
An EQ adjusts the sonic profile of your sounds, by boosting or cutting specific frequencies or ranges of frequencies. Most EQ are parametric, meaning they have several bands, and each band can have a different filter curve, such as high-pass, low-pass, shelving or notch. On each band of a parametric EQ, you’ll be able to adjust the gain, frequency, and bandwidth (Q) to dial in the characteristics you want. Using a combination of bands and parameters, you can shape your sound by creating a specific curve across the frequency spectrum.
If you’re new to using EQ, there are some tips you’ll want to consider when you’re getting started:
Tip #1: Mix with your ears
“Mix with your ears” seems like a straightforward statement, but is generally an excellent tip that you can apply throughout the creation process. The EQ effect in Suno Studio, like most EQ plugins, has a visualizer and curve which lets you shape a smooth line and see the impact of your settings on the audio spectrum. While this is super useful, you shouldn’t use it as your main point of interaction with the EQ. You want to trust your ears over your eyes in mixing situations, so don’t be afraid to glance away from the screen or close your eyes when making EQ tweaks. Remember, it needs to sound right; even if your curve doesn’t look pretty.
Tip #2: Cut first, boost later
Digital audio has a theoretical maximum (0dBFS) meaning everything you add, including gain from your various EQ bands, will need to find a space in your master bus: the combination of all your tracks and effects. And while Studio has a massive amount of headroom, following the advice to "cut first, boost later" is still advisable to make sure you keep on top of your levels.
For a good example of this, let's think of a muddy vocal. The reason it sounds unclear is normally because it is fighting other instruments in the same frequency range. You first instinct might be to turn up the high-mids and treble for a bit more presence. But using our cut-first approach, we can instead cut some of the clumpy low mids (start with -6dB at 400Hz then use your ears), and removing the low end completely. The human voice rarely does anything below 100Hz so you can use a high-pass filter set to ~80Hz or even higher, to remove all the boomy content.
From there, you might discover the muddiness is gone — and you might be able to play with your channel faders to make the vocal come to the front of the mix.
Tip #3: Place your EQ first
This one is definitely not a hard-and-fast rule, and you should definitely experiment here, especially when you’re looking to get creative in the mix. But generally speaking, it’s a good idea to start with EQ first in your effects chain. The mental model here is that you want to nail the frequency characteristics of your sound first, because all subsequent effects will emphasize what’s in the signal.
So if your sound is boomy and you add compression and reverb first before EQ, you will end up with an even more boomy sound that EQ will struggle with. By EQing first in this scenario, you can cut the boom by reducing the gain of the filter band around the problem frequency (maybe 160Hz, but again use your ears), so when the compressor and reverb come into play, they only ‘hear’ a clean, boom-free signal.
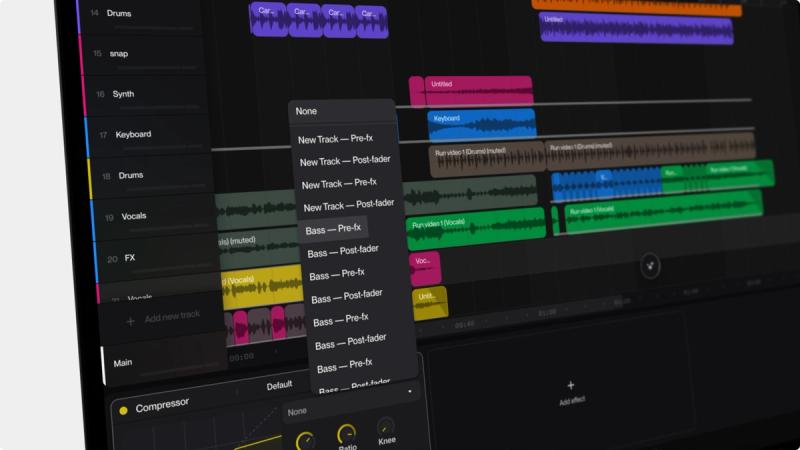
Suno Studio has had EQ per track since it launched in 2025. In the latest version, EQ is available as an audio effect alongside compression, reverb, delay and other tools. You can add the EQ plugin manually, make your own EQ presets, and copy and share EQ settings across multiple tracks and projects. You can even add more than one EQ to a track for super fine sonic sculpting.
For more information about Suno Studio, click here.